Saturday, January 28, 2012

Can't Buy It ... Make It! : The Conclusion

Back to the rear lower window channel ....


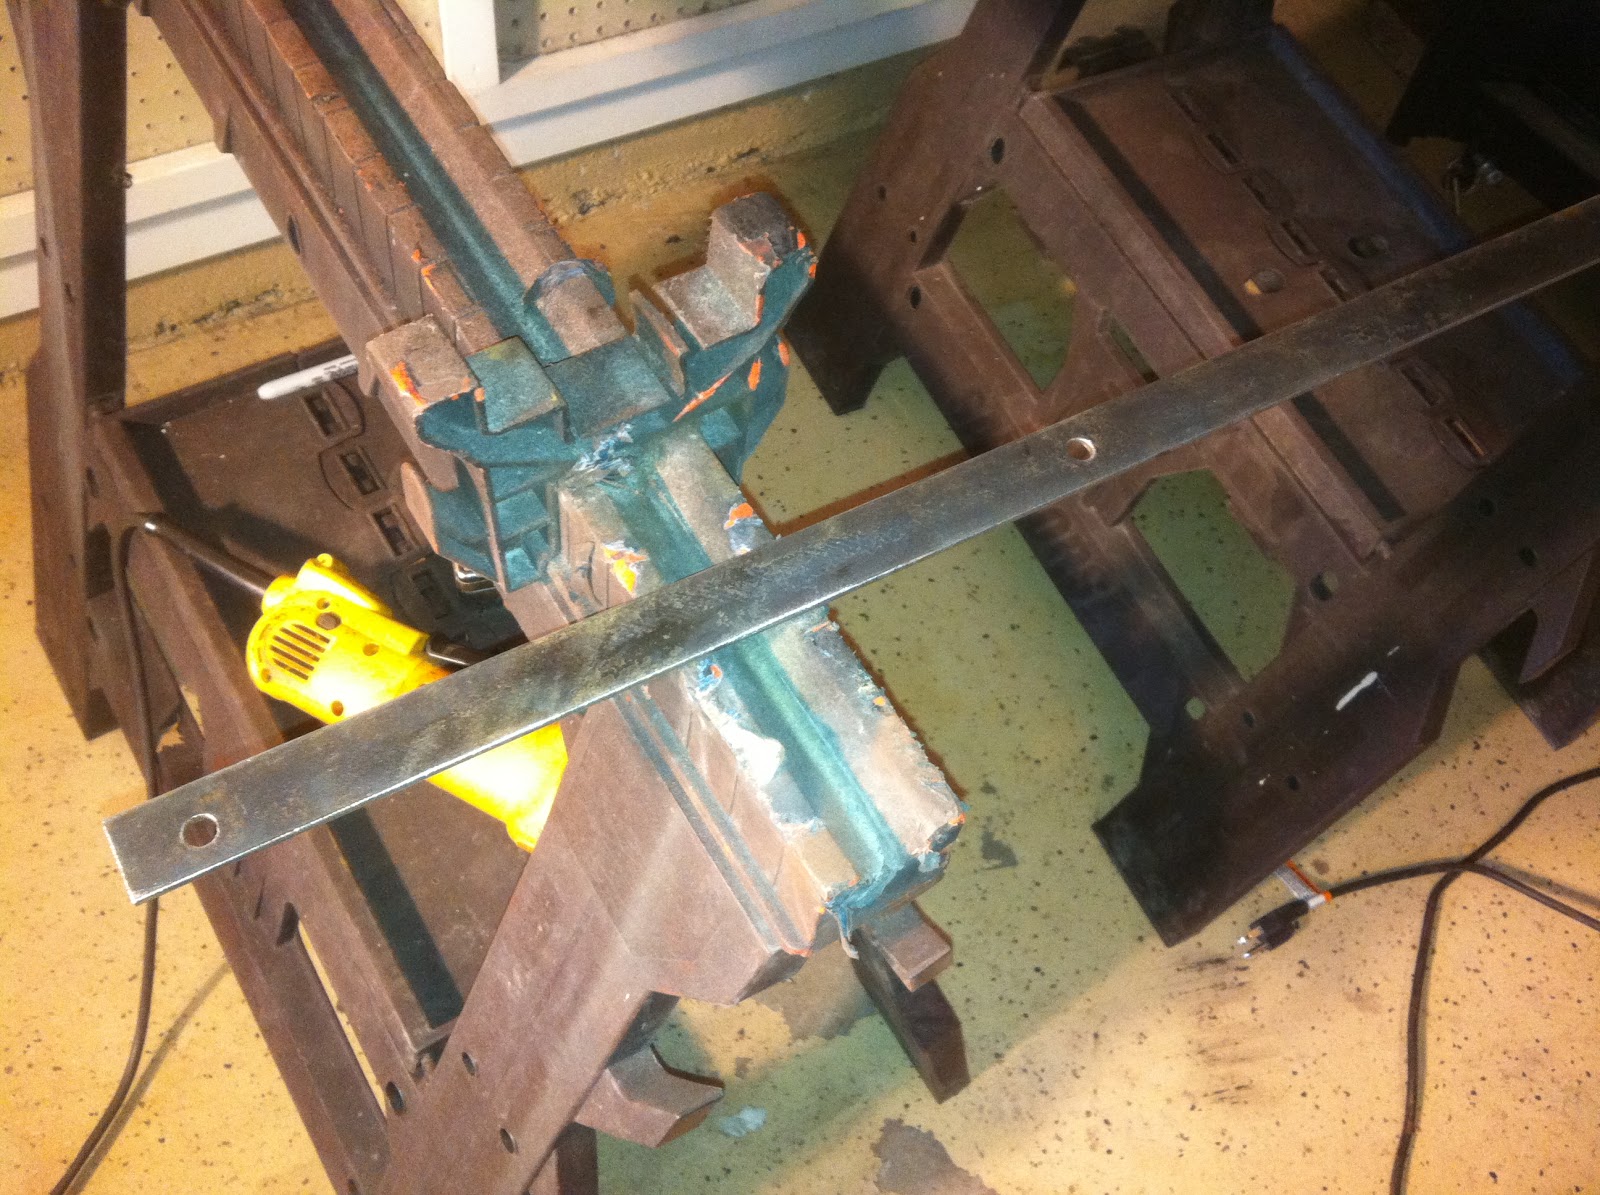
     I set up a makeshift bench to work on and laid out the things I needed for the brackets. If you remember yesterdays entry, I made them and they were crap. I had pulled out a piece and cleaned it up with the wire wheel.

CLICK FOR LARGE PHOTOS


I thought about it and decided the material I was using was overkill. You can see in the photo above it is some fairly thick flat stock. These were screwed to the sheet of plywood in the bed to simulate the runners. I have been using them for several things on this project.

    Lets use some small gauge sheet metal. This is 22 Gauge, I would have like to have had a size or tow thicker but I think this will work. I may have to tack in a couple braces once I get it installed and can check it out. This will be easy to work with.
    First I marked out my cuts and and used the jigsaw to cut them out. I did not try to be perfect since you will never see them. 50 years from now the next caretaker may find them and comment on my shabby work LOL Then I bent them to shape and drilled a hole in the proper spots for the plug weld and the bolts. I used the original from the driver's door as a guide, but I mirrored everything.


   Before welding the legs on, I made the notch for the weather strip to hang. At the time I did not realize what this was for as the one I had did not connect that way. It was riveted on. I said well what the hell I will do it so it will look similar to the original. I'm glad I came some what close to the pattern since it is being used!


    Then I plug welded the legs on ... checking twice for position and orientation. 


    Here it is in raw form ....


    The original one has an indenture in the bolt tabs to allow the leg to straddle the raised bolt hole opening. It allows a clearance of about 1/16th of an inch. I placed each leg in my vice with a wood support in back and a tab of flat stock and cranked the vice down as tight as I could. I realize now that this would have worked better if I would have made a piece to put between the wood and metal shaped like a square "U" I_I , to support the outer ends. Also, a notch, for the tab to sink into, in the wood. I think it will be OK like this ... if not I will change it.


     And here is the finished product. I did not realize I had these inserts ... They came with the window channel kit I got from Santa. I am not sure why they do not run the length of the channel but they must work ... that's the way they sell um :o)


   I'm really not completely done, as I still have to get the bolts and decide if I want to order the D nuts and original bolts or find something local that will work.


When I was cleaning up I spotted a small piece of the sheet metal and saw the gap in the windshield frame. I wonder ..... I popped this out real quick just to see ... Looks pretty good for no measuring and crocked lines LOL Now I know I can so I will make two and paint them with the frame.


     I'm almost ready to tackle the windshield garnish molding I'm missing for the drivers side pillar!! Doesn't look too hard. I should be able to whip up something that looks close. If anyone has one of these just laying around, ship it on down to me ... or up if your below Georgia LOL


     I dreaded this, but the longer I hold off on doing it the worse off I will be. I had been separating the bolts  and stuff randomly with no real order. I would throw everything from, say, the doors and dash in one bin. Then maybe the glove compartment screws in with the cowl vent hardware, etc ... So I started organizing now before I forget what goes where. I got most of it done, but I still have to sort through the bed and fender bolts. Grill, running boards, splash pan etc. Some of this stuff I intend on replacing anyway so I was not real careful about where I stored them.


    After dinner I had a bit of time so I took the driver door off and started sanding it down.


    I also did the lower dash panel  and other door.


    You can see the window garnish in the picture of the dash ... I still have to prep those for paint. When I posted once that it was the last of the red I lied .... the door garnish and the back glass garnish are all that remain. It's not that I don't like the red, it just doesn't fit my vision for the truck Believe me It would have been much easier to leave it red and pick a body color to match up! C'est la vie


                    Thanks for checking out my progress!!Feel free to comment below!

NOTE:     Still taking photos with my iPhone4. I sent my camera off for repair and I should have it back in a few weeks! I'm stoked!


Friday, January 27, 2012

Can't Buy It ... Make It!


    This is the lower window channel for the Drivers door. It runs on the outer edge or the latch side of the door for the window to roll down into. I am missing the one on the passenger door.


    I looked for this part online and I inquired about it on my resource forum - Ford Barn and it appears no one is re-popping this part. So I will attempt to make one using this one as a guide but mirrored.
    I dug through my spare part bucket and decided the extra but worn window channel would do the trick for the channel base that holds the "fuzzy" channel.


    I wire wheeled it to clear the rubber coating and ground of the tab that holds it in the door.


    Then I measured it and cut it to size.


    This is a mock up to make sure the "fuzzy" channel would fit ... perfect!


     I started making the legs ... I actually made 2, but both came out wrong ... the first one, one of the tabs on the leg that the bolt goes through to hold it to the door was too small. (right) ....The other  the legs came out too short! (left) I forgot to allow for the extension (see post below) ...       Well I am getting practice anyway, HA! I will attempt to make another one tomorrow.


    I am having to extent the legs a quarter inch to allow for the dip on the ends on the original one. I mounted the existing one in the door with the door latch mechanism to make sure the dips did not allow for clearance ... they don't so I can just raise the legs to compensate.


Thursday, January 26, 2012

Installing the Front & Rear Glass

     OK I do not know how to install the glass but I looked it over and used my best guess and got it done.


        Let's get started

    First I gathered all of my supplies ...


    Then I measured the tape by first laying it around the glass then cutting it where it met. You will need 80 inches to do the back glass in a 35 pickup.  Then I split the setting tape down the middle lengthwise with scissors. I did this because I did not think it needed to wrap around the glass Let/s hope I'm right. Also, the glass would been an extremely tight fit, if it fit at all, top and bottom on the glass to fit between the cab braces. I actually tapped the top one up a bit to get the glass to go in better as it was. ...


    Then I took alcohol  and cleaned the glass and wiped down the setting tape to remove any dirt or dust. If your using previously used glass you may want to take a razor blade and lightly go over the glass surface to remove any over spray, road grime etc.. ....


    I'm not sure if this is how it is done but I squirted WD-40 on the edge where the tape is going. Then I laid the tape along the edge pressing firmly to get it to stick. You may have to stretch and pull around the corners for a good fit. Be sure and use your free hand to hold what you have done so far or you will pull it out of position and have to back track!
    BTW -The WD-40 makes it slick and sticky, so it is tedious to have the tape stay still ... especially if you put the WD-40 on to heavy. Wipe it off as needed. This activates the tape to stick to the contacted surfaces.


    Note the gloves  ... you will need them! The WD-4o causes the tape to become slimy and of course wet ... It leaves a black mess everywhere!

    Then I cleaned the area on the cab where the tape will make contact and put a good skim of WD-40 on the exposed setting tape & inserted the glass in the cab opening ....


    Then I pressed all around the edges for a bit to get a good contact. Once I had it seated pretty good I put some excess setting tape, folded to be thicker under the glass bottom to raise it up slightly. This gave me a bit more contact on the upper corners. Then I put paper towel strips and the garnish molding on to hold it tight in place. Once it sets I will remove the paper and also paint the garnish the proper color. NOTE: Make sure you have the garnish molding and screws close at hand because you will need to hold the glass in while you gather this stuff up to install it! You do not want the glass to release and drop out.... shattering all over your floor!


    After it was all set, I used mineral spirits to clean all of the black tar(?) from the glass and finished up with window cleaner. Then I trimmed the excess tape with a razor blade and cleaned the glass again.


    And here it is ..... Sweet!


OK, then it was on to the windshield ....

    I again prepped the glass for the job and measured the setting tape. You will need about 111 inches to do the windshield. I then folded that down the middle lengthwise and wrapped it around the glass. You have to kinda pull and stretch the tape, careful not to break it, and work it around the corners.


    Once I got the tape on I shot WD-40 into the channel on the frame the glass would sit in and slid the bottom half on. Be careful to keep the tape centered on the glass. If it gets a little shifted one way or the other it's ok. You will have to trim it in the end anyway. Also watch that the tape does not slide and bunch up in front of the moving edge of the frame as you push down. Try to keep the ends as even as possible, working each side down a little at a time.


    Once I got it down as far as I could I had to use a rubber mallet to  .... this was pretty damn scary ...... beat it down until it met the other half. I tried to make sure all of my hits where firm and level, Taking care to hit the frame where I needed to. I thought for sure I was going to break the glass, but she went on down and I inserted the screws.


    After that it is pretty much the same deal as the back glass .... trim the tape and clean it up.

    I set the glass in the frame onto the truck to see how it will look. Looks pretty cool ... I'm dig'n the green tint!


EDIT: I found out there should be a rubber seal on the back glass! This should not be hard to fix and I do not need to to it now to proceed.

Photo from Bob Drake's ... shows a car but also list the pickup


This glass sure is a motivation booster! It's starting to come together! I have a feeling the door glass will not be a picnic!