Tuesday, February 7, 2012

They Don't Work, But They Sure Look Good!

Sweet


I decided to put some stuff back on the truck today. Since the firewall and interior have been painted, the wiring and gauges can go back in. I started by putting the upper dash in ...


Stainless screws
Not bad


    Then I installed the coil and pulled the wires back into the cab for the lights ignition etc...


What a mess!
I routed the wires behind the kick panel

Cener hole for the oil and temp gauges and the coil wire I made it a little larger than needed for future stuff. Possibly fuel gauge and speedo?


    Then I installed the gauges and hooked up the SW Temp and oil pressure gauges. I still need to finish up the wiring. ....

I debated on putting these back or filling it in. I decided to keep them and if I decide to go with new gauges later it will give me more options.

Back in ... snug as a bug and something about a rug


    I also put the glove compartment door on. When I got the truck the catch for the glove compartment door was made out of wire. I found the original catch when I got the truck and saved it. I need to drill out or grind off the old rivets before I can install it.


    Then I painted the steering column and the radiator support brackets on the firewall.


The brackets are the two black pieces along the top edge of the firewall.


When I have days when I'm all over the place like this ... it's time to make a list!


Sunday, February 5, 2012

Another Day of Paint

    Started the day sanding down the dash and overhead to prepare it for the second coat of paint.


    Then I wet sanded the firewall with 400 grit and painted it.


    Then I cleaned and hit the inside with another coat of paint.


Saturday, February 4, 2012

More Firewall and some Gauges

     I hit the fire wall with 400 grit then spread some glaze.


    Then I shot some more primer and laid a little more glaze ...


    One more coat of primer and hopefully the last bit of glaze. Once I sand this down and hit the glazed sections with primer  I will wet sand at 600 grit and paint.


    The primer takes four hours of dry time before sanding so I pulled the gauges out and painted the housings on the gas and temp/amp (I did not get to the speedometer yet). I also made a new gasket for the back of the temp/amp.


     Once the housings dried I put the  gauges back together. They look pretty good but I do not trust that they will work. I set them in the dash just to see how they look ....


    I wont be installing them yet as I still need to put another coat of paint on the dash. I hope to clean up the speedometer soon.


Friday, February 3, 2012

Out With the New ... or ... I Messed Up!

    I finally got a new pair of mechanics gloves .... I would say I got my monies worth from these!


    I have learned that I am going to need more light! My vision is not the best in low light conditions and even though I have the work lights, nothing beats natural daylight! Yesterday I opened the garage door for something and with the sun shooting in the garage I got a good look at the firewall and was not happy. I could see blemishes through out the panel. Stuff I looked for but did not see with the work lights directly on the panel.

    So I took the new paint off the panel and primed it again. Used the finishing glaze and hit the spots that were standing out. I finished it out with 420 grit sandpaper. Then I sprayed some automotive primer on it. The Rust primer doesn't seem to finish out as well as a regular automotive primer. Tomorrow I will hit this with 600 grit then repaint it.

If you are using Rustoleum Heavy Rust Primer ... Just an FYI, I wrote and asked Rustoleum about the products I had planned on using. Here is some useful information for those wanting to paint over their primer.

"We would advise for you to wait  7 to 10 days after putting the Rusty Metal Primer on then you need to wash the surface with soap and water then you can sand and paint those parts.  If the Rusty Metal Primer is used on metal that is not rusted the oils that are in it will come to the surface and prevent a topcoat from adhering.  

Washing with dish soap and water helps to remove these oils so that it can be painted.

Our Protective Enamels are not designed to be wet sanded and buffed.  We do make a Crystal Clear Protective Enamel that can be wet sanded and buffed.   The Crystal Clear Protective Enamel is only available in a spray.  HERE is a link to this product."


Wednesday, February 1, 2012

Some More Paint!

   Sorry about the crappy phone pictures! My camera should be back soon ... I hope!


     I shot primer where needed then sanded the truck down again.


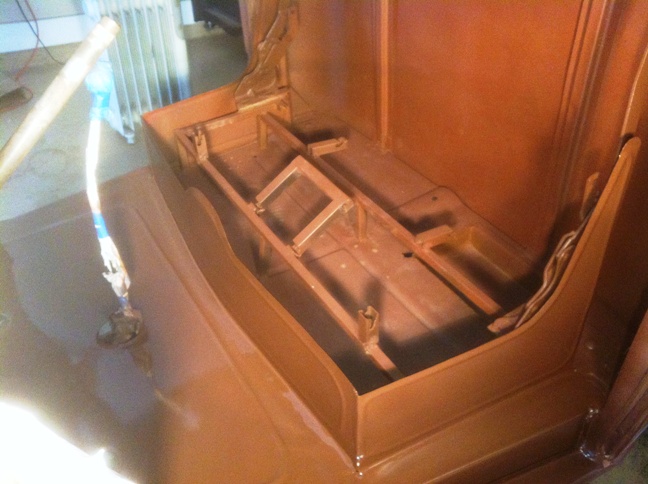
    Then I cleaned up the garage and washed the truck. After it dried I shot brown on the dash and overhead as well as the firewall.


    And I shot the garnish trim .....


    I also messed with the passenger side window some more. I cant quite figure out what is going on with it. I did not mess with it long. I will look at it again later.

Comming Right Along!

 Sorry, I forgot to post last night! I must have worked to hard in the garage LOL !! Well without further ado....

I put the glass in the drivers door and started on the passenger side. I am not getting the P  side to roll up right but I have not installed the channel I made for it so I think that is the issue. I will get some bolts soon and try again.


I did some more glazing on the dash and firewall. Then I sanded down the whole cab.


I think the firewall and dash are ready for paint!!


I also got the garnish trim sanded down and primed.....