Tuesday, January 3, 2012

Swiss Cheese! or Gotta Get Worse Before It Gets Better!

    I have been putting off working on the door damage for as long as I could. Today I decided to dig right in. I had a few options on fixing the dents. The ideal method would be to cut out the dent and put in new metal. My welding skills with the MIG kinda ruled that one out. I would probably burn through and warp the door much worse than the damage that is there now.

    I could cut a section out of the inner door panel allowing access to work the dent but if that was not successful I would have front and back damage. It would make no sense to mess up a good panel to access a bad one.

    I tried to shrink and stretch the metal to get the dent out by pushing up from the inside. This helped a lot but was causing damage to the hole I was using to access the dent. This area was already damaged and I assume it was from someone doing the same thing.


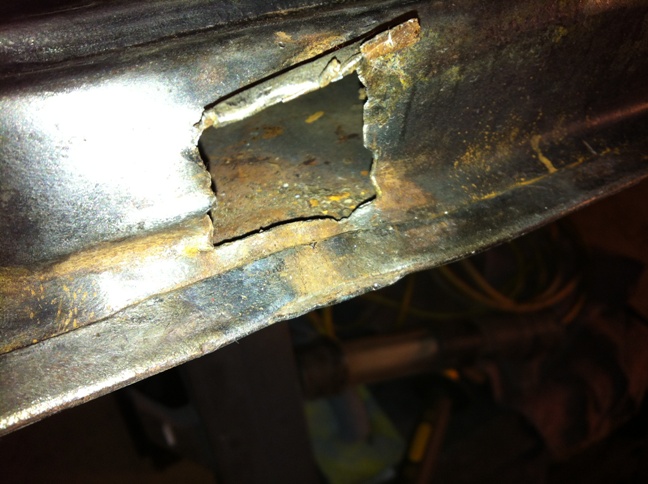
    I straightened out the damaged are around the drain hole and then welded it up. The first two pictures are of the original damage to this area. I did not take a picture of the damage I cause. You can see in the weld pictures that it has been welded all the way to the edge and over on top about a quarter inch.



    Once I got it the best I could I drilled holes so I could put a dent puller to work. This created a lot of holes but I can put metal behind them and fill them back in. I think this is the best bet I have. If I see a problem with this when I start filling them I will just stop and cut the area out and weld in a new section of metal. Here is what I have so far. I hope to start filling holes tomorrow.


 Scary Ugly !!!   LOL


Monday, January 2, 2012

Taking Apart the Passenger Side Door

    I removed the guts of the driver's side door. Regulator, latch, window channel etc. Also the outside parts. Door handle and male dove tail.


    I found a large nest of critters! Grass hoppers?


    I also removed this piece of channel. This channel was missing from the passenger door. I have not seen this available online ... I hope I do not have to make it!


    Then I wire wheeled the door and the rubber window bumpers. The door is now ready for repairs.


This was on the door ... someone was noting measurements for something ... maybe to re-skin the door.


    I picked up some of this stuff just to try it out. I turned the metal white just like when I poured CLR on the metal bed floor.


Sunday, January 1, 2012

Take It Off!

    Today I removed the cowl vent for clean up. It is in great shape. The 4 main bolts that were holding it on all broke off with little effort so new ones will be used. The screen that covers the hole was also in very good shape. I put it in the vinegar to soak for a few days to dissolve any hidden rust.


Then I sanded down the floor and seat riser.


When I got bored with that, I removed the rest of the gauges and knobs from the dash.


I disconnected the heat gauge so I could remove it from the dash and I hooked it back up so I would not loose all of the coolant.


Whats missing in this photo .....


Yep ... I took the other door off.


And the steering wheel & side mirror


Here are a couple photos of the drivers side door damage :o(