
My review:
The tool is well made and worked great for the passenger side door. The instructions were easy to understand and pictures are included.
The only fault I found was that the longest pin is the same length as the pin you are removing, but part of it seats into the nut to hold it in place. The amount that is in the nut is the amount of pin that does not get pushed out. I had to heat the pin and use a hammer and punch to get the pin the remainder of the way out.
If you have never used one, here is how it's done:
Let the pins soak with PB Buster or some like liquid Wrench for at least 24 hours before removing if they are stuck/rusted in place.
Do the bottom hinge first.
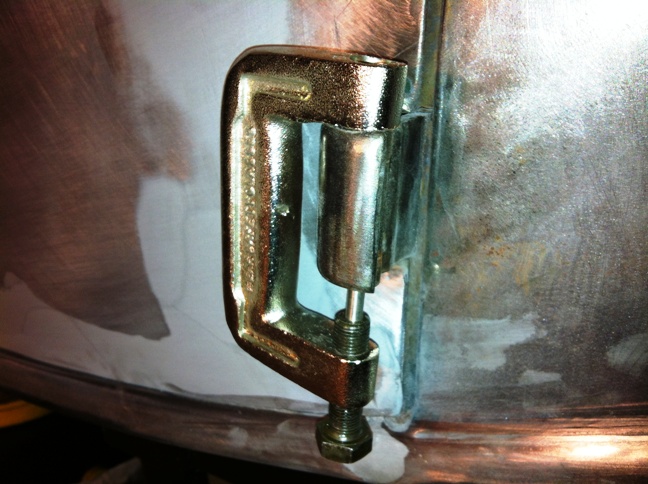
Place the un-threaded hole of the "C" over the head of the hinge pin. If it was beaten on at some point and spread it may not fit or it may be a tight fit. You may have to grind the edge of the head. When I say fit I am refering to the pin being allowed to be pushed through the hole.

Once you have it in place you insert the shortest dowel into the hole in the end of the nut and firm it up centered on the pin. Once it is in place you will use a socket or box end wrench to tighten it. As you tighten the nut the dowel will push the pin up.

Once the nut bottoms out , back the nut off and replace the short pin with the medium length pin and repeat.

Last, do the same with the longest pin. Depending on how stuck your pins are you may be able to use pliers and pull the pin on out. If yours were like mine you may have to head and lube the pin to get it to go.

Do the same for the top hinge and remove the door. I did this with the door closed and latched and had no trouble on my own. You may prefer having an extra pair of hands .... grab the misses! LOL

Once I had the door off I began wire brushing the old paint off.


I also welded up a couple of cracks.


There is some rust on the bottom of the inner panel that will need repair. I will have to pick up some more metal.

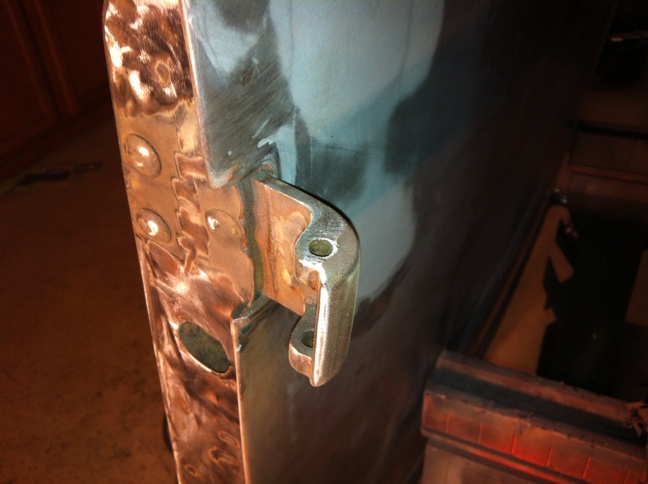
When I initially tried getting the top pin out before I had the tool ... I attempted to drill the pin out. At the very bottom the drill bit went in crooked and drilled a small hole in the hinge itself. I did not get pictures, but I took a piece of copper and put it into the hinge hole and clamped it down. This allowed me to use the MIG to fill in the drilled out section. After filling in the hole (just the part that was not suppose to be drilled) I removed the clamp and taped the copper. It fell right out and everything looks great. I will try to remember to get a pic of the outcome and post it here.
As Promised:
 |
| Good as new ;) |
No comments:
Post a Comment